GenerateBlocks is a pretty amazing plugin for the WordPress block editor. And GeneratePress is a pretty amazing theme for WordPress. Thanks to a recent update, GeneratePress and GenerateBlocks grew a little closer. GeneratePress Premium recently introduced the ability to add blocks as elements. Using this Block Element you can place blocks created with GenerateBlocks (and any other block for that matter) just about anywhere on your website.
In my opinion, this opens up a world of opportunity. I’m especially interested in creating footers and sidebars using the new GeneratePress Block Elements. After rigorous testing, I’ve recently implemented my first footer created with GenerateBlocks on one of my websites. Here’s how I did it.
The Result: GeneratePress Block Element footer
Before going through the steps it needs to be explained why you might want to do this. And to aid me with that explanation I’ll start by presenting the result. The footer seamlessly blends in with the rest of the site using a gradient.
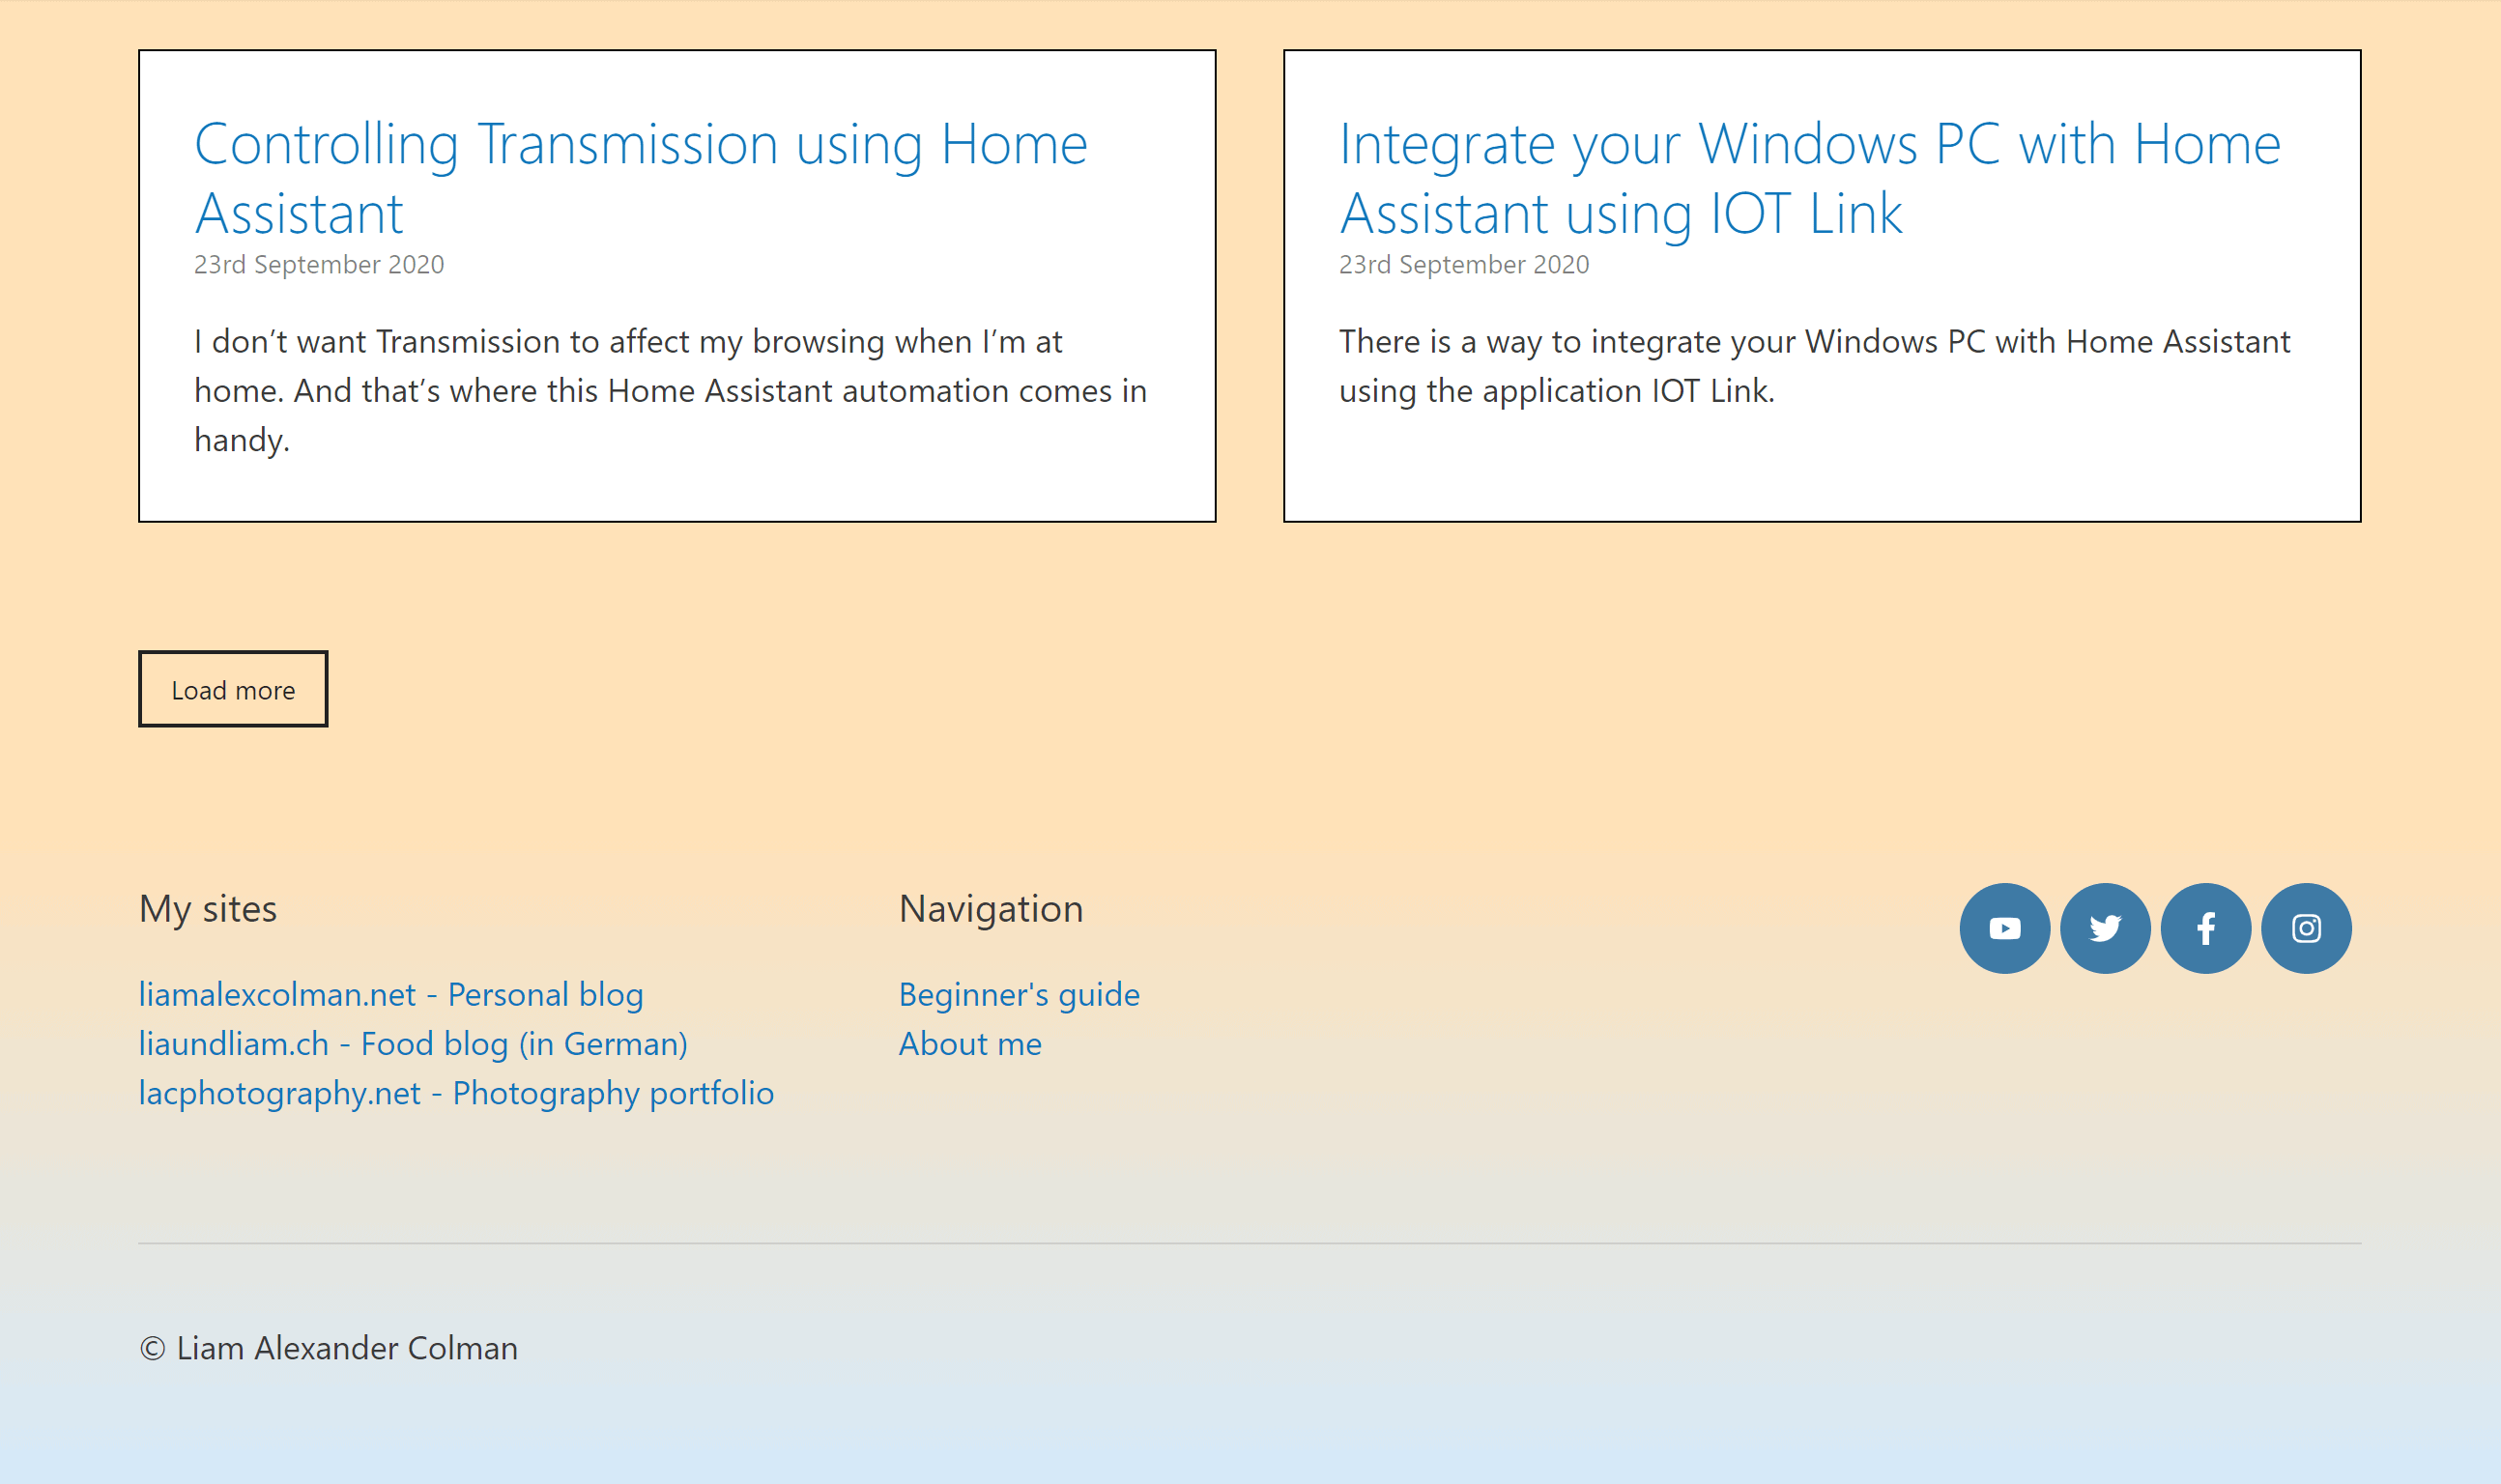
Compared to creating a footer using widgets there are a few features missing though. You obviously can’t use any widgets you might have installed. That means that the links you’re seeing in the screenshot aren’t placed there using a menu but had to be manually added. Luckily for me, I won’t be changing those links all too often.
How to create a GeneratePress Block Element footer with GenerateBlocks
The footer I’ve shown above exclusively uses GenerateBlocks with a few paragraph blocks thrown in here and there. So when I mention using a grid or container I mean the GenerateBlocks grid and GenerateBlocks container.
Seamless background GenerateBlocks container
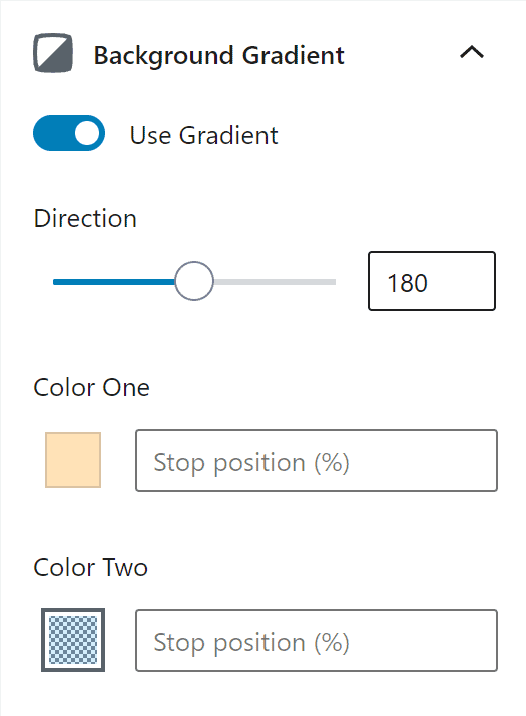
The background gradient is created by using a container. If you’re going for a similar design there are a few things to note here:
- Under Layout make sure you set the container to full width and the inner container to contained width.
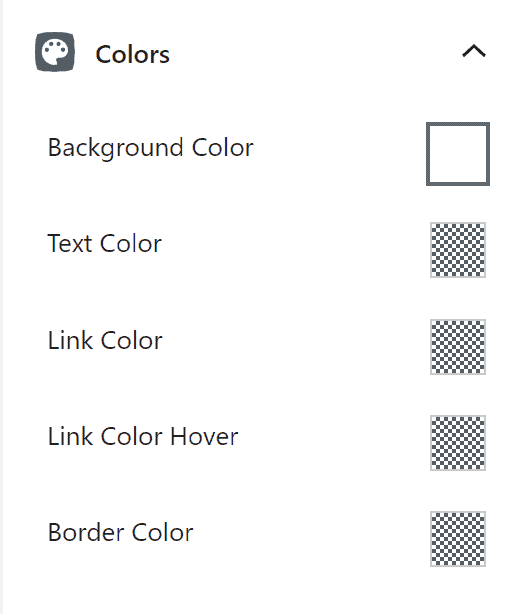
- Under Colours I’ve set the background colour to white because I’m going for dark text on a light background.
- Under Background Gradient set the angle to 180°. Colour one should be the same colour as your website background and colour two should be a different colour (I selected mine using Adobe Color). My second colour is slightly transparent to lighten it up a bit.

Placing blocks using a GenerateBlocks grid
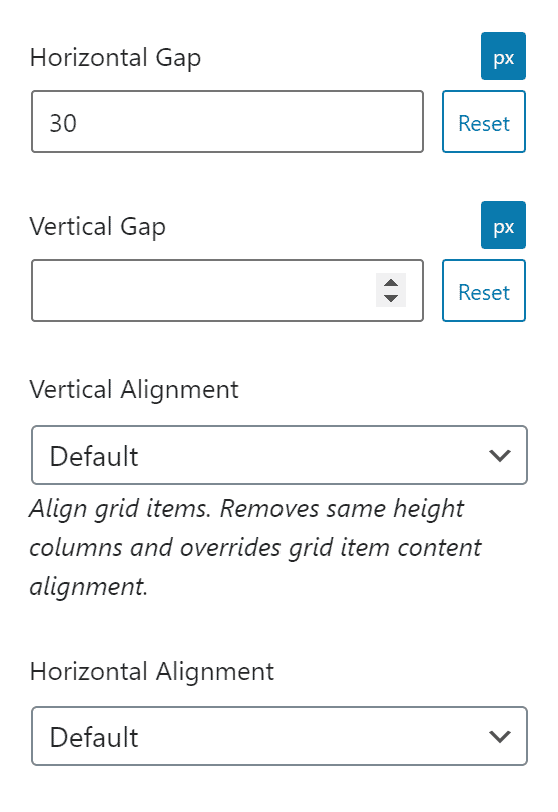
The next block I added to my container was a GenerateBlocks grid. Mine is split into thirds because I wanted to have three separate containers to add content to. Make sure you set up the gaps, spacing, and alignment to your liking.
Adding links to the footer
The two elements My sites and Navigation were created using headlines and paragraphs. The links have to be placed manually. By pressing Shift + Enter and not just Enter you can reduce the spacing between the items.

Adding social icons using GenerateBlocks buttons
Instead of using the built-in Social Icons block, I’ve added mine using GenerateBlocks buttons. By using these buttons I can fully customise the icon itself, their shape, and their colours. I’ve once again picked the icon colour using Adobe Colour to match the rest of my site.
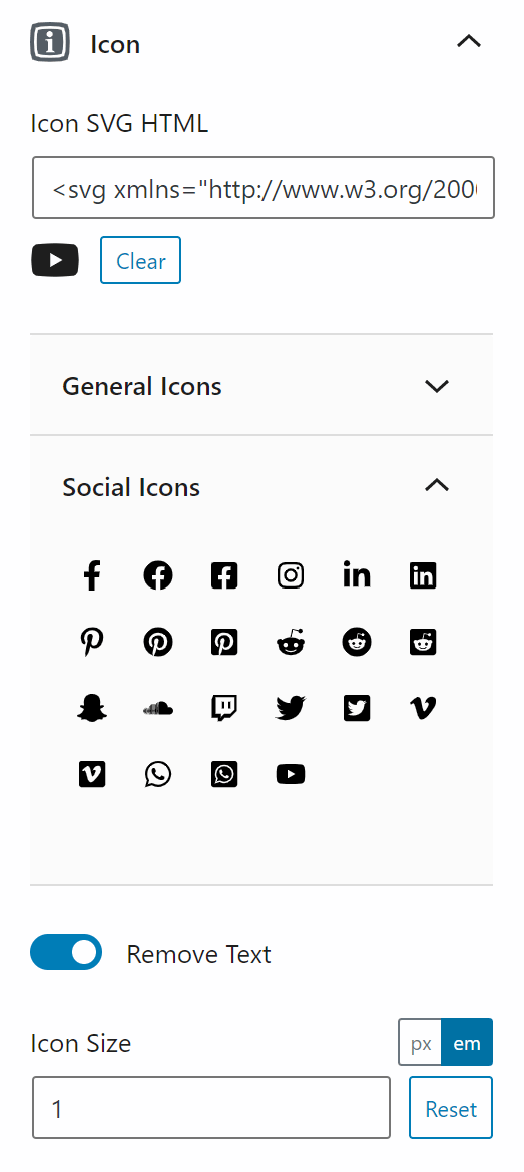
Using GenerateBlocks buttons you have a bunch of icons that cover the most popular social media sites at your disposal. If you’re looking for more, I have picked out two great resources for GenerateBlocks icons just for you. Once you’ve selected an icon an option to remove the text will appear. Make sure you enable that option if you only want an icon.
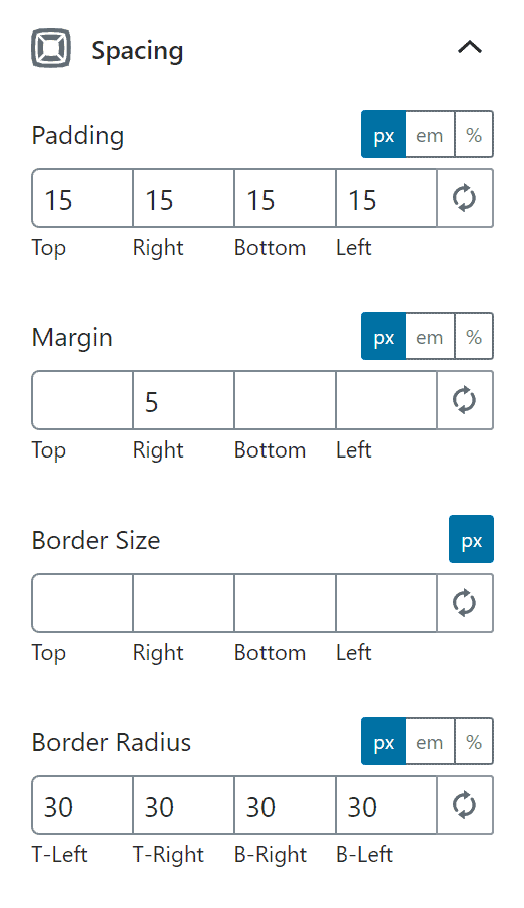
Other than that all I had to do was adjust the spacing and the border-radius to make them perfectly round. Be sure to check out what the social icons look like on mobile devices. You might have to make some adjustments if things don’t look good.
Final details
To finish things off, I added a separator and another paragraph block for the copyright in the right-hand container. I’m really quite proud of what I’ve managed to create using the GeneratePress Block Element and GenerateBlocks.
Summary: GeneratePress footers using GenerateBlocks
Using the new block element in GeneratePress Premium you can create beautiful footers without having to edit a single line of code or adding any CSS. Going forward I’ll definitely be using this option to create all of my footers.
In fact, I’ve already updated one of my other sites without any regrets. Creating these designs using widgets or coding them myself would have been an impossible task but GeneratePress Premium and GenerateBlocks made it possible.