In this guide, I will be showing you how to initially set up a photo gallery using the new Content Template Block Element in GeneratePress Premium and GenerateBlocks Pro. Furthermore, you will also learn how to create a custom post type using the Pods plugins, just for your photos and galleries. This helps to keep everything neatly organized in the WordPress backend.
- What you will need for this guide
- Installing GeneratePress and activating GP Premium
- Installing GenerateBlocks and activating Pro
- Setting up Pods for a photography gallery
- Adding gallery categories
- Changing the WordPress permalink settings
- Adding photos to the Pod
- Creating a Content Template Block Element in GeneratePress
- The next steps
What you will need for this guide
If you have followed any of my previous WordPress guides or read the title of this website, you will know that I am massively fond of the theme GeneratePress. This theme is fast, clean, and a joy to work with. In the last year or so GeneratePress has seen some game-changing developments, making this guide all the more necessary.
There is one caveat to my use of GeneratePress though: I use the GeneratePress Premium. Almost everything contained in this guide can’t be done using the free version only. On a positive note, GeneratePress Premium only costs US$59 a year or US$249 for a lifetime subscription. And you can use the same subscription on up to 500 sites. Despite all the things I get up to, I’m still off that number by just a slight amount.
In my opinion, GenerateBlocks is a required plugin when working with GeneratePress. I will be using it in this, and the following guides on how to build a photography website. As the name suggests, GenerateBlocks is the brainchild of the GeneratePress developer, and they are tightly integrated. As with GeneratePress, the paid GenerateBlocks Pro is a must-have for me, as it unlocks so many features. It will cost you another US$39 per year. But the US$100 annual cost for both GeneratePress and GenerateBlocks is definitely worth it.
Installing GeneratePress and activating GP Premium
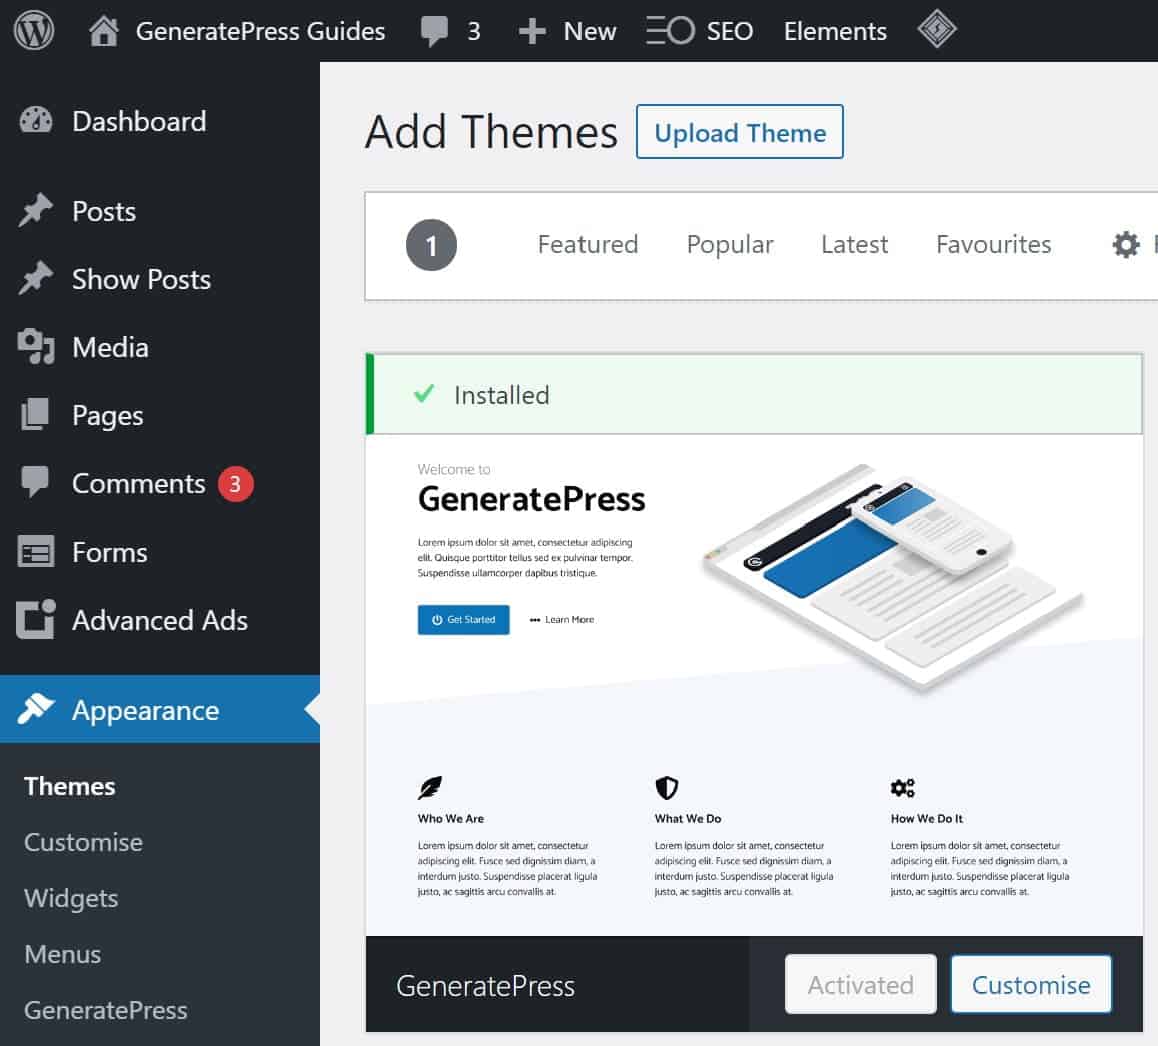
With a new WordPress installation in place, the first thing you want to do is install the free version of GeneratePress. This can be done by clicking on the “Add New” button, under “Appearance” and then clicking on “Themes”.
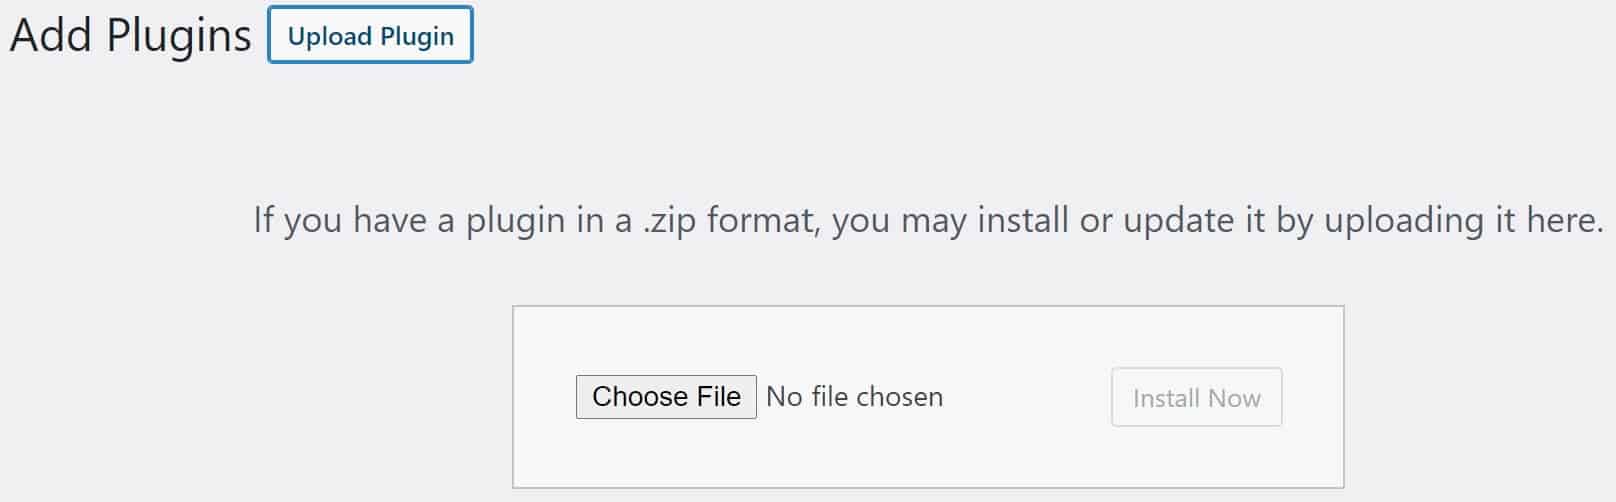
Once installed, you can log in to your account on the GeneratePress website and download the GP Premium ZIP file. You will want to upload this file, without extracting it, in the WordPress “Plugin” menu item. Add a new plugin and instead of searching for it, click on the “Upload Plugin” button.
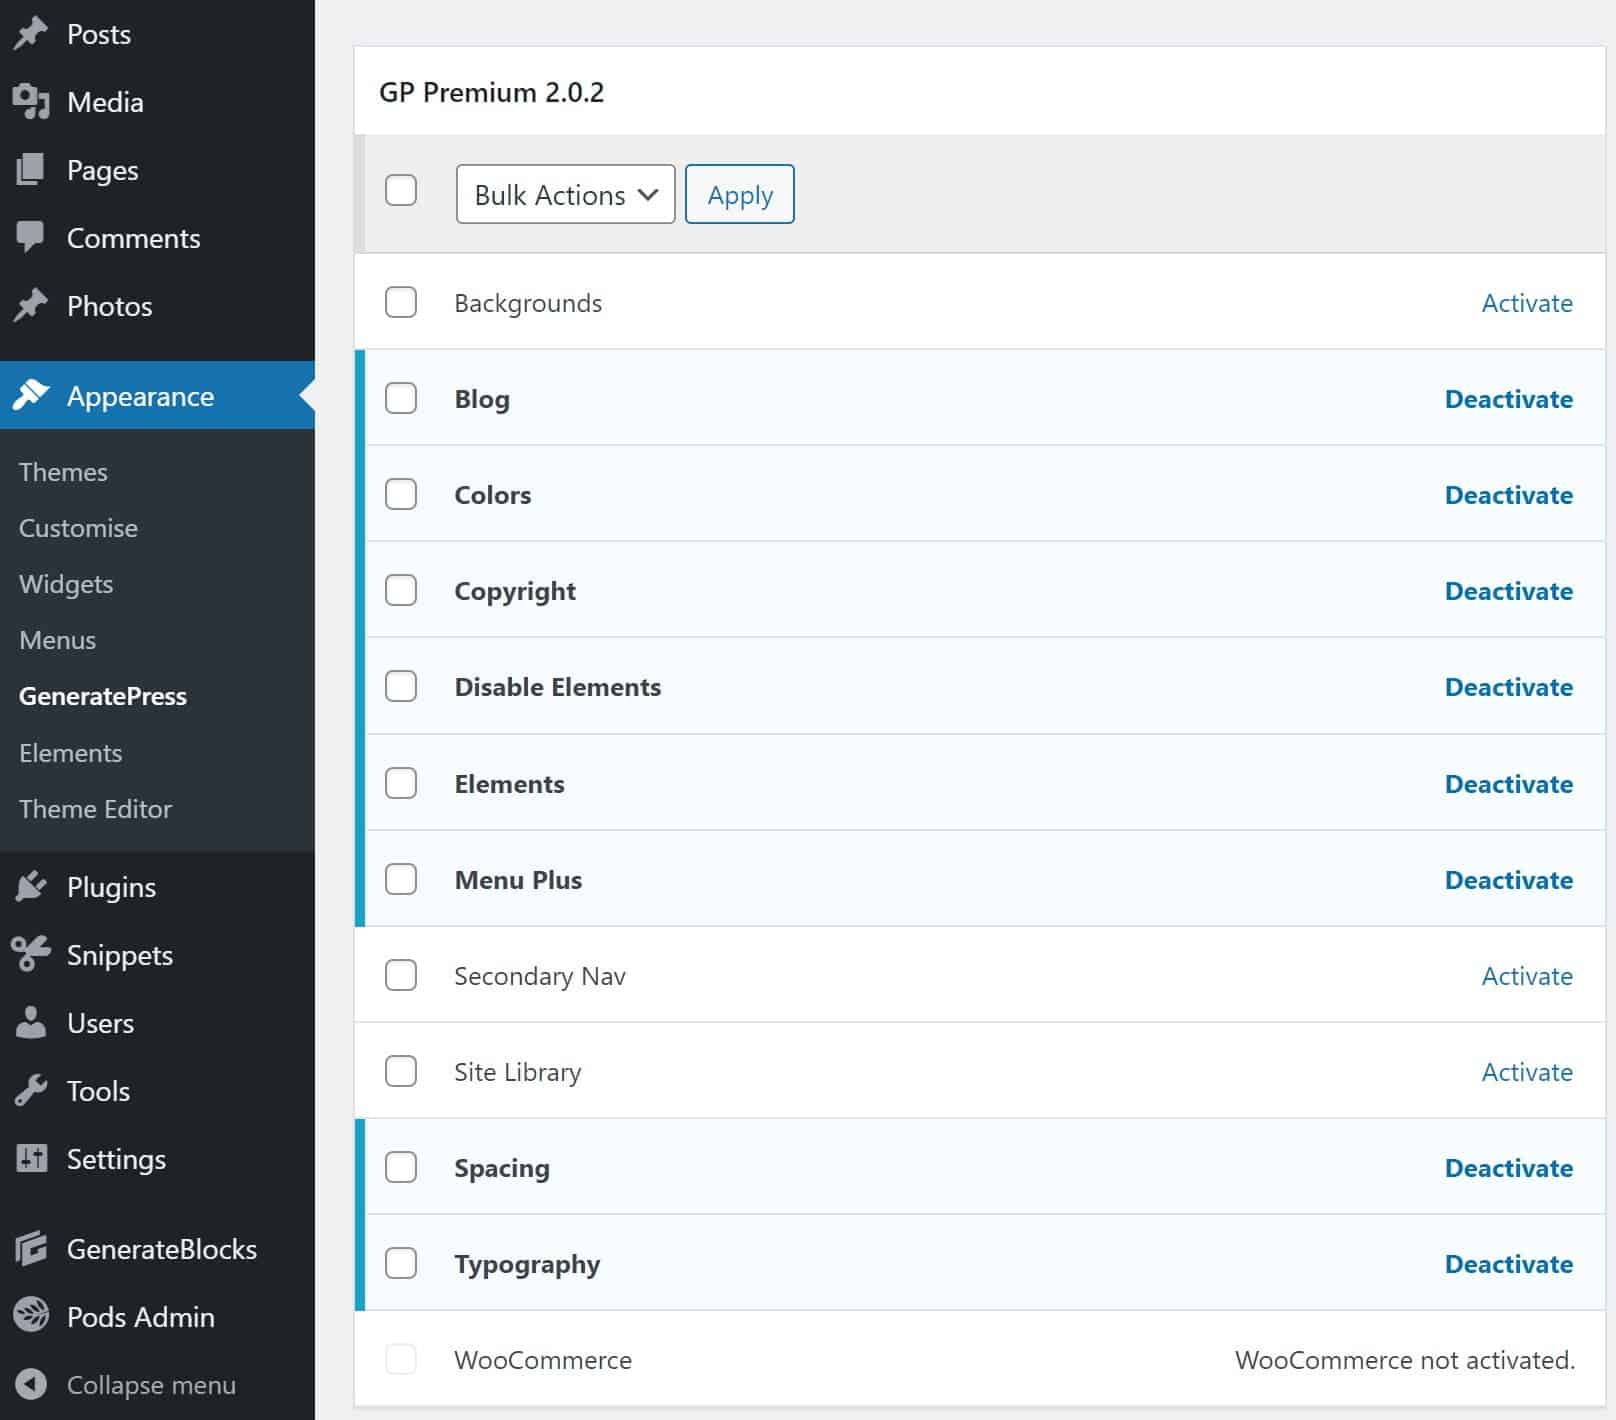
Once installed and activated, click on the “Configure” option. Here you will have to enter your licence key, which is also to be found in your GeneratePress account. While we are in the configuration, we can enable the modules we might be using for our photography website.
I will be enabling the following: Blog, Copyright, Disable Elements, Elements, Menu Plus, Spacing, Typography, and Colours. Any modules you might not need in the future can be deactivated again, as they will use up just a few resources.
Installing GenerateBlocks and activating Pro
The next plugin we truly must have installed is GenerateBlocks. You will once again have to first install the free version by searching it in the plugin directory. It should be the first result if you enter GenerateBlocks in to the search field. Hit that install button, wait for WordPress to do its thing, and then activate the plugin.
Next, the Pro version can be uploaded. The ZIP file can be downloaded from your GenerateBlocks Premium account and is installed just like the GP Premium ZIP file was above. Once installed and activated, you can enter your licence in the settings. The other settings can be left as is.
Setting up Pods for a photography gallery
With the basics out of the way, we can move on to the next bit of preparation work: Setting up Pods. If you take a look at our menu on the left-hand side of the WordPress backend, you can see that you can already add posts and pages, but we won’t be using either for our galleries. You could set up individual pages, but that would mean that you would have to edit the whole page for every newly uploaded photo.
What we want is something more dynamic. We could use posts and define categories for individual galleries such as “Landscape”, “Nature”, or “Portraits”. But that would mess up our ability to easily create a blog in the future. So, we don’t want that. What we want is something like posts, but not posts. That is what the plugin Pods can do for us.
Creating a Pod for photos
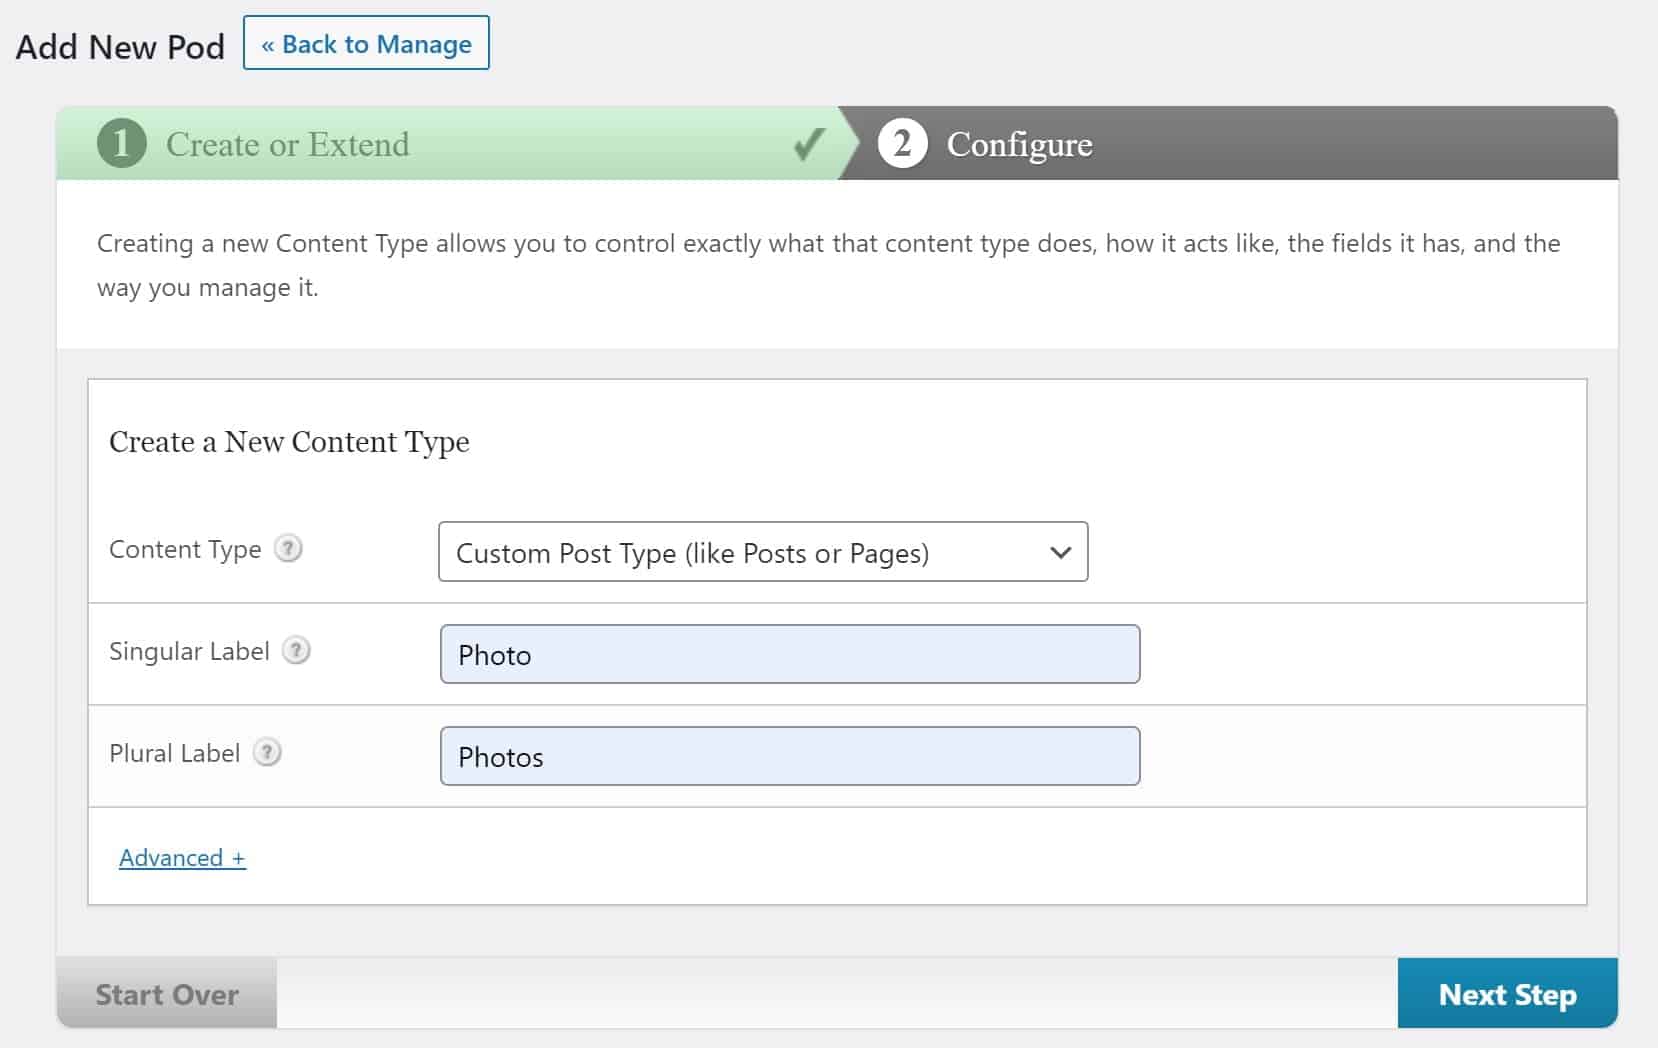
Once Pods has been installed and activated, we can create a new pod called Photos. This pod will be a “Custom Post Type”.
With it created, head in to the advanced options and enable the archive page. You will also want to scroll all the way down and enable the “Featured Image” option.


Save the pod and head back in to the “Manage Fields” tab. Here we’re going to create a new field with the label Featured image URL, and I suggest you make it required, so that it never gets forgotten. Save the pod to finish its setup.

Adding a taxonomy to the photo Pod
We are now going to need some categories such as “Landscape” or “Street Photography” for our photography gallery. For that, we are once again going to add a new Pod.
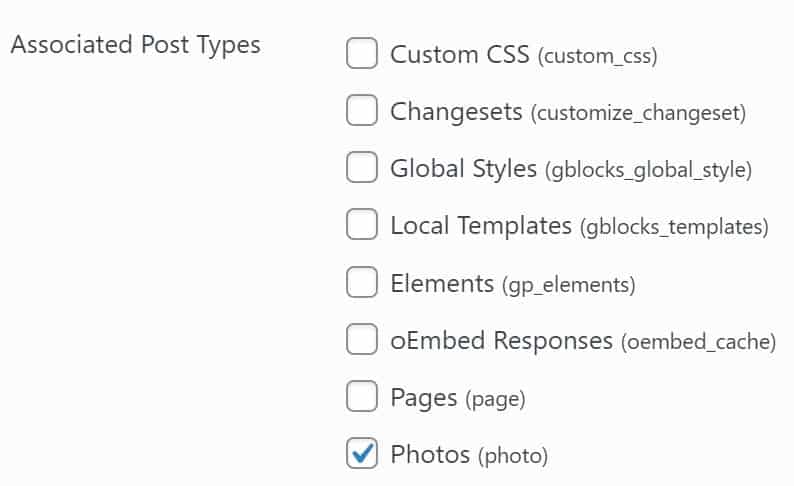
This Pod will, however, be a custom taxonomy, and we are going to call it Gallery. Once created, select the “Advanced Options” tab and scroll all the way down. In the final box, associate this taxonomy with the post type “Photos”. Save this setting before moving on.

Adding gallery categories
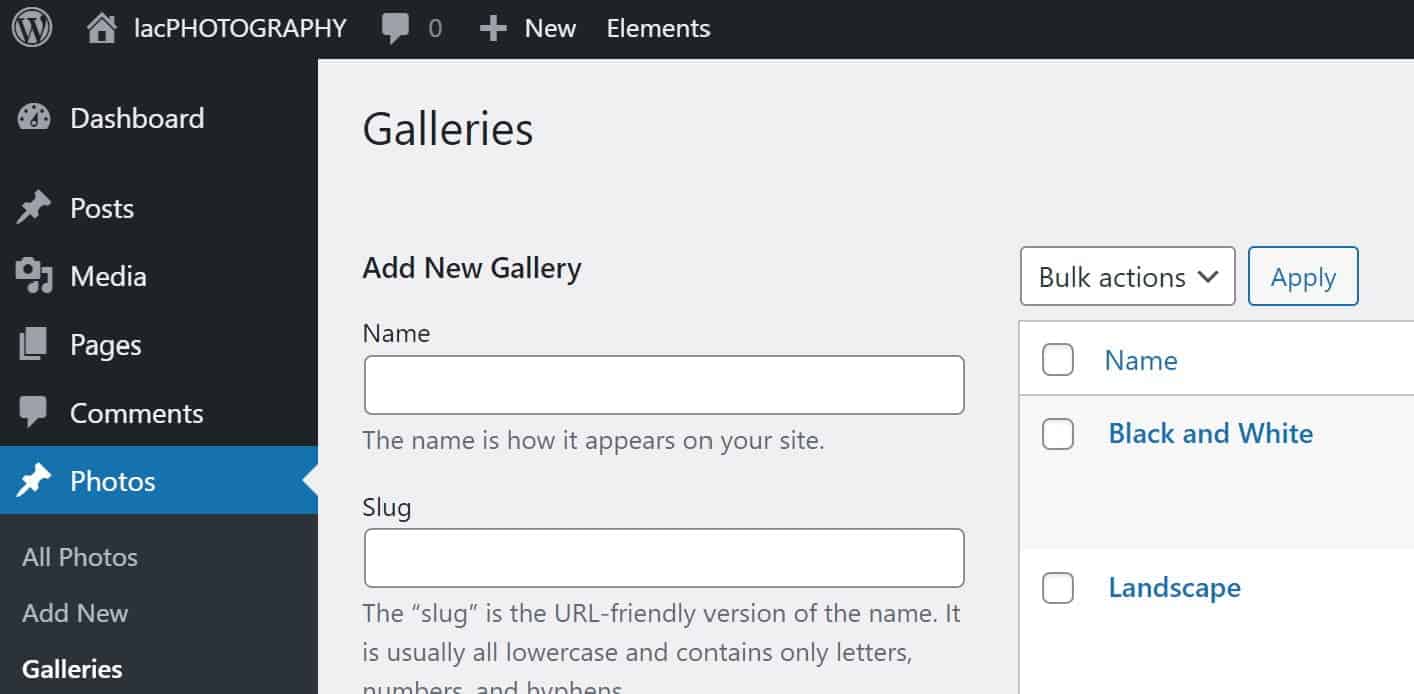
You might have noticed that we now have a new option in the left-hand menu titled “Photos”. From there we can view our photos, add new photos, and add galleries. It’s the last option we’re going to select first. In here you can create the galleries you will later want to display on your website. I’m starting things off simple by just creating one named “Landscape”.
Changing the WordPress permalink settings
At this point, I suggest what you do next is to view that gallery. You won’t see any photos yet and will be greeted by a big, fat “Nothing found”, but the content isn’t the reason I want you to view this page. What you want to do is take a look at the URL. In my case, the URL ends with ?gallery=landscape. I don’t like the look of that, so I’m going to change it.
Head in to the WordPress settings and select the option “Permalinks”. From there, select the option “Post name”. If we now take another look at the gallery you will see that the URL has been changed to /gallery/landscape, which looks much more professional.
Adding photos to the Pod
It’s about time we added our first photo to the gallery. To do so, simply select the option “Add New” to under our new “Photos” post type in the WordPress backend. The photo we want in the gallery is uploaded as the featured image.
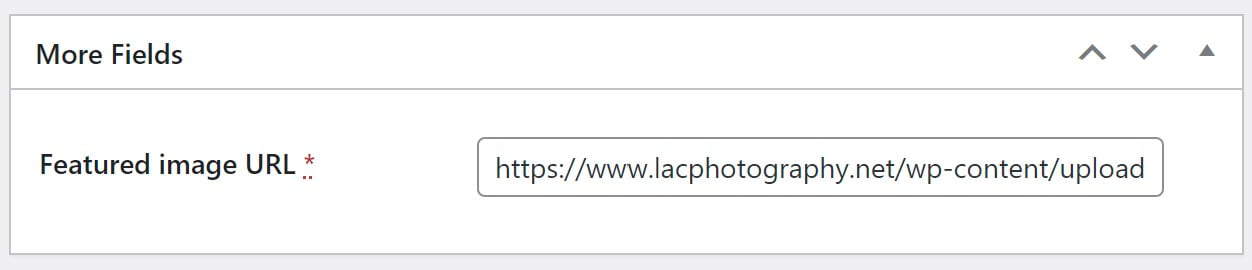
One extra step I’m not thrilled with yet, but I couldn’t find a neater way of doing it, is required. Once uploaded, copy the URL on the right-hand side. Now paste that URL in the “Featured image URL” field towards the bottom of the editor.
Finish things off by giving the photo a fitting title and, if you want, you can also add some text. There are ways of displaying it in our gallery we will be exploring later. Before you publish the photo, make sure to select one or more galleries, and then you’re done.
We can now take a look at the landscape gallery once again. The first image should now be displayed. But, without any adjustments, this doesn’t look anything like a gallery yet.

Creating a Content Template Block Element in GeneratePress
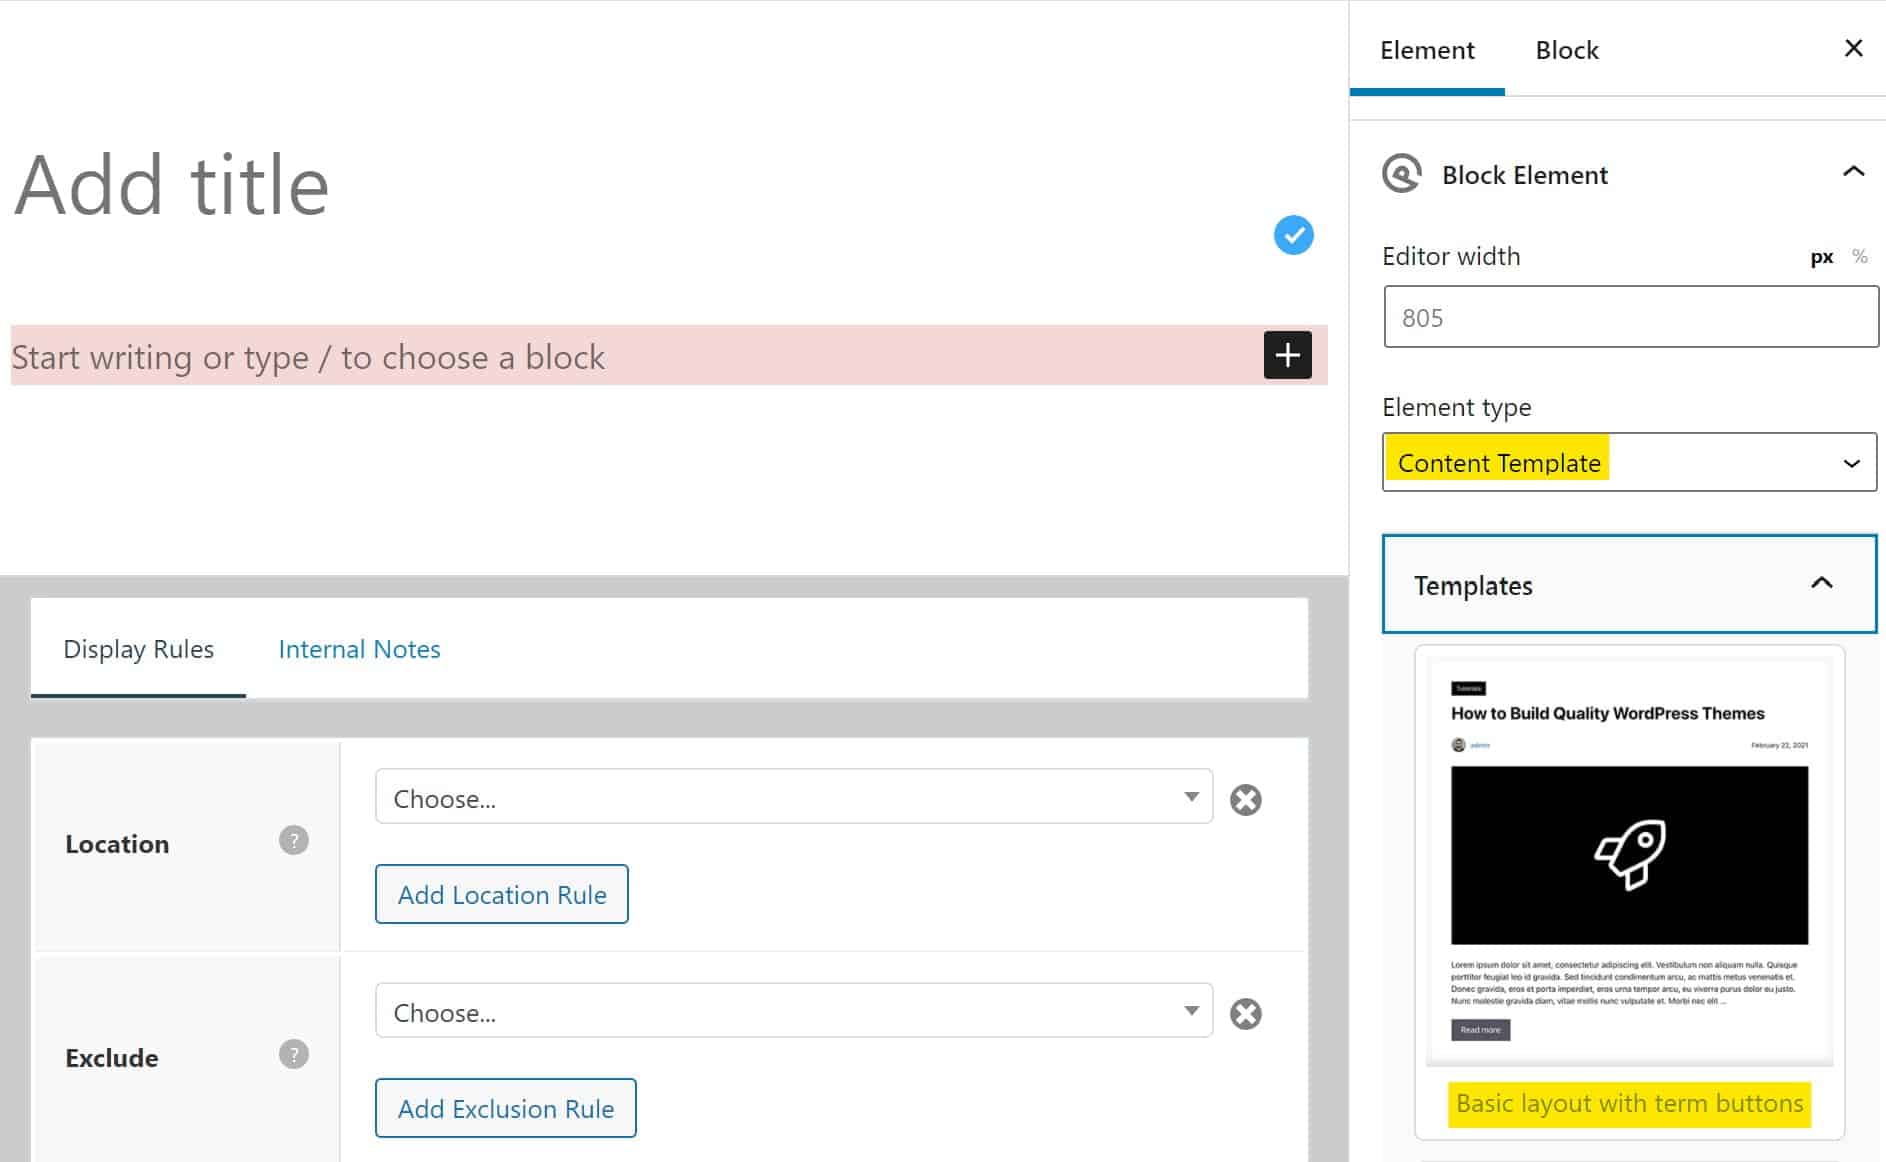
To make your gallery look more like a gallery, you can now create something that was only recently introduced in GeneratePress Premium: a Content Template Block Element. This will allow you to style any category archive however you want. And in our case the gallery is such an archive.
And the template I recommend getting started with is the most basic one. This template contains a bunch of blocks which will be dynamically filled with data provided by each photo. The “Post Title” field will be the title we gave our photo not a minute ago. The big black box you can see will be the photo itself.
Everything else provided by this template, I do not want. The field where it says, “Author name” would show my name, but as it’s only me uploading photos, I don’t need it. I also don’t want to show the date in this location, so I’ll just delete the whole container. I’m also not sure whether I want to include any text to go with the photo, so for the time being the bottom most content can go too. Finally, the terms button towards the top would display tags, and my photos don’t have any tags. So, I’ll delete that too.
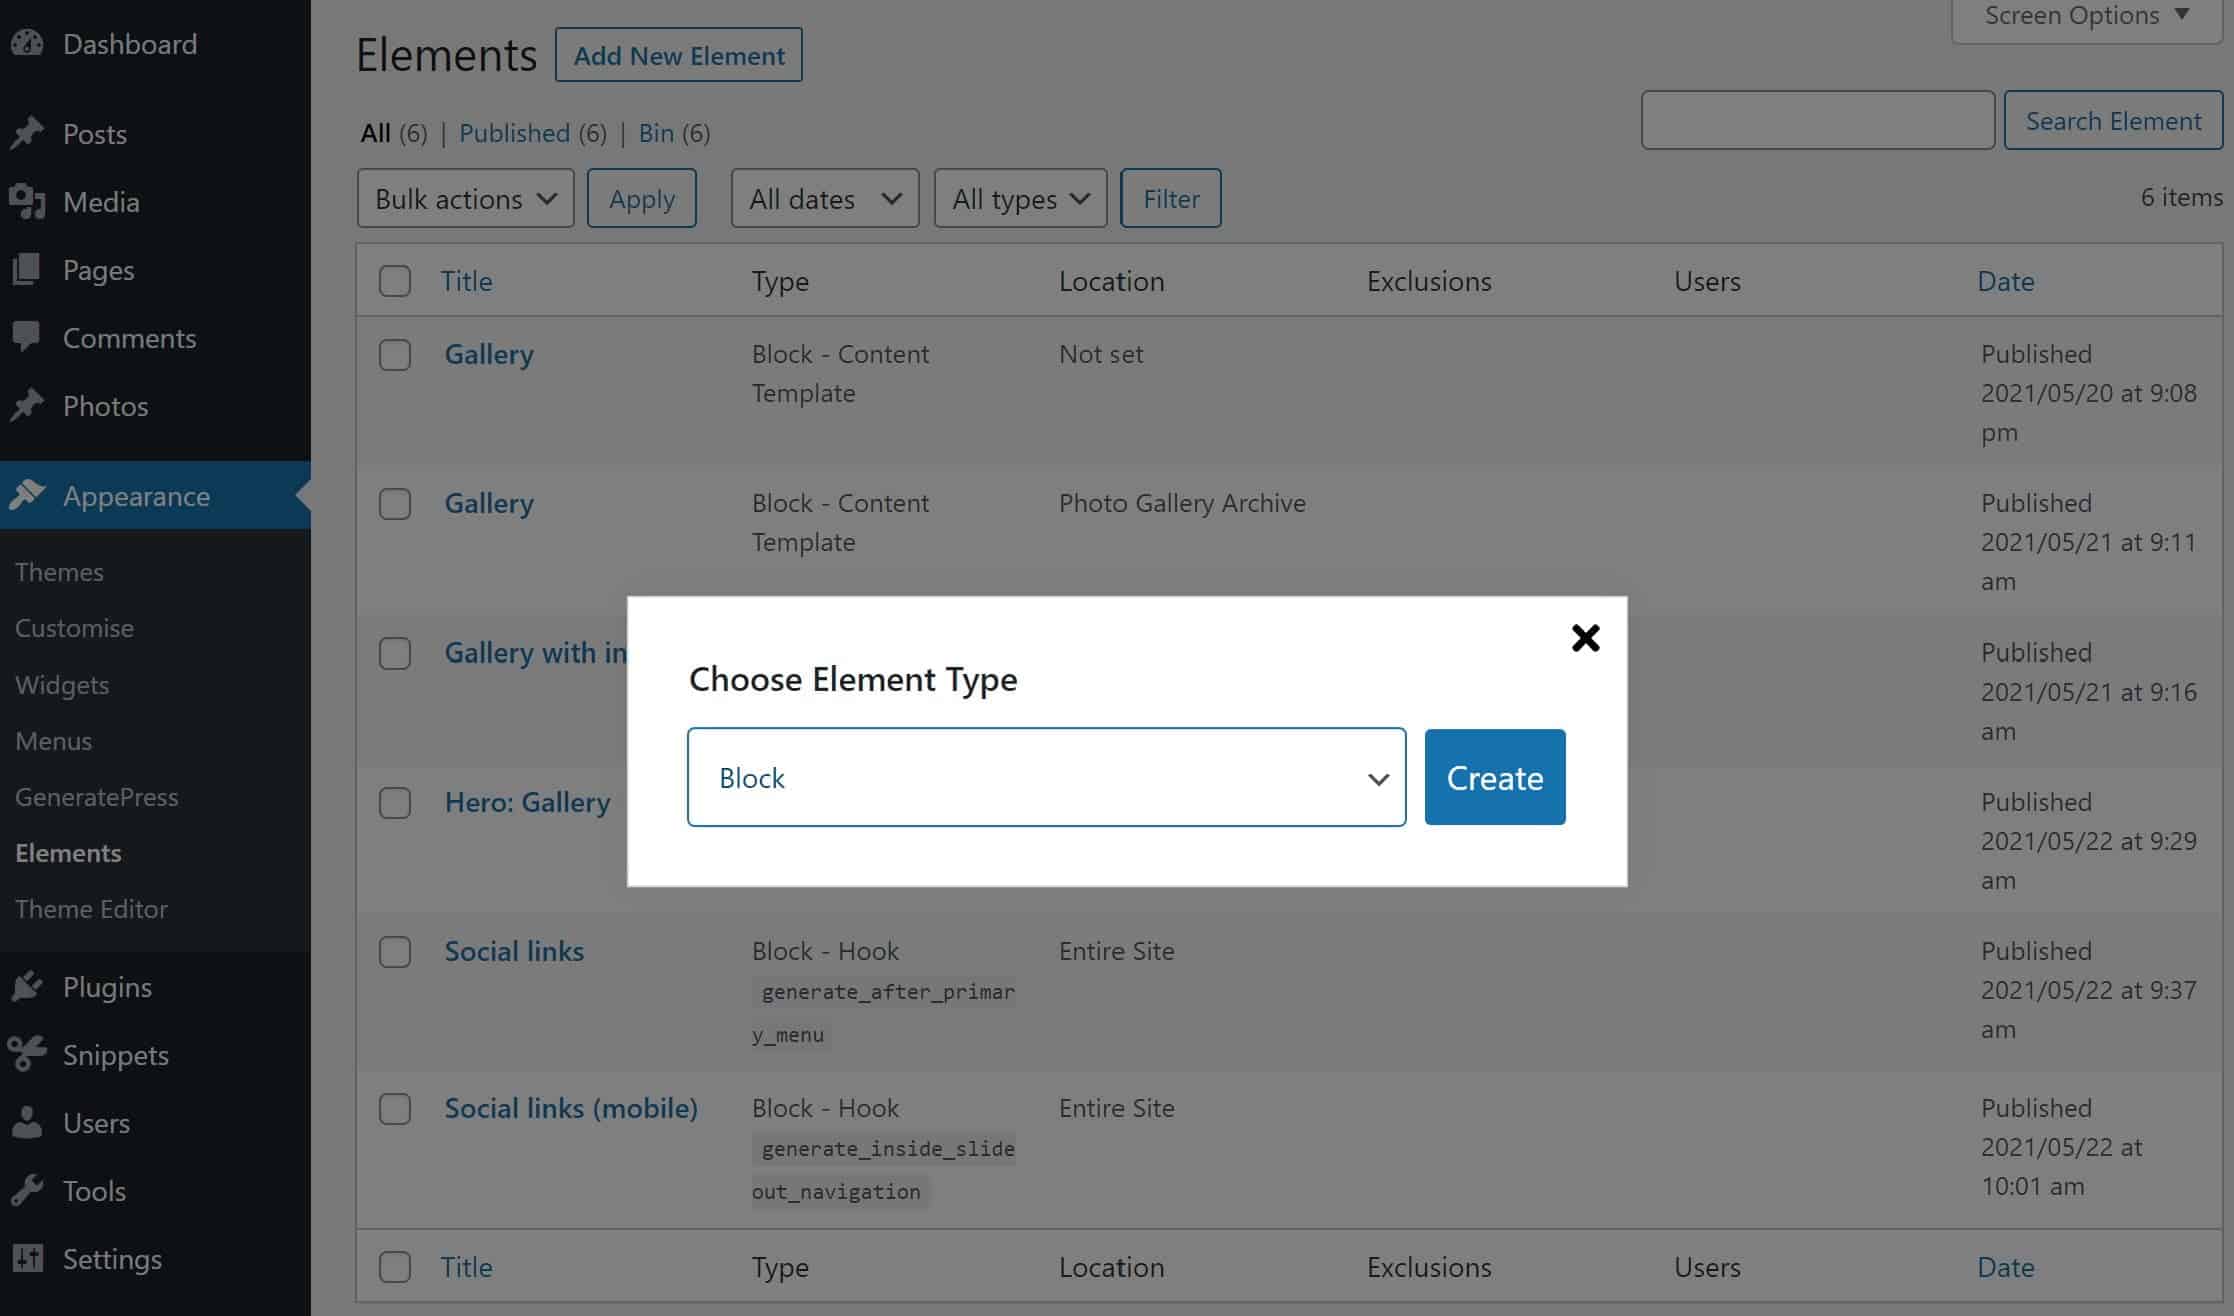
This will now be our basic structure. All that’s left to do is to assign it to our galleries. Under “Location” select the option “Photo Gallery Archive” and leave it set to all galleries.

Opening the GeneratePress featured image in a lightbox
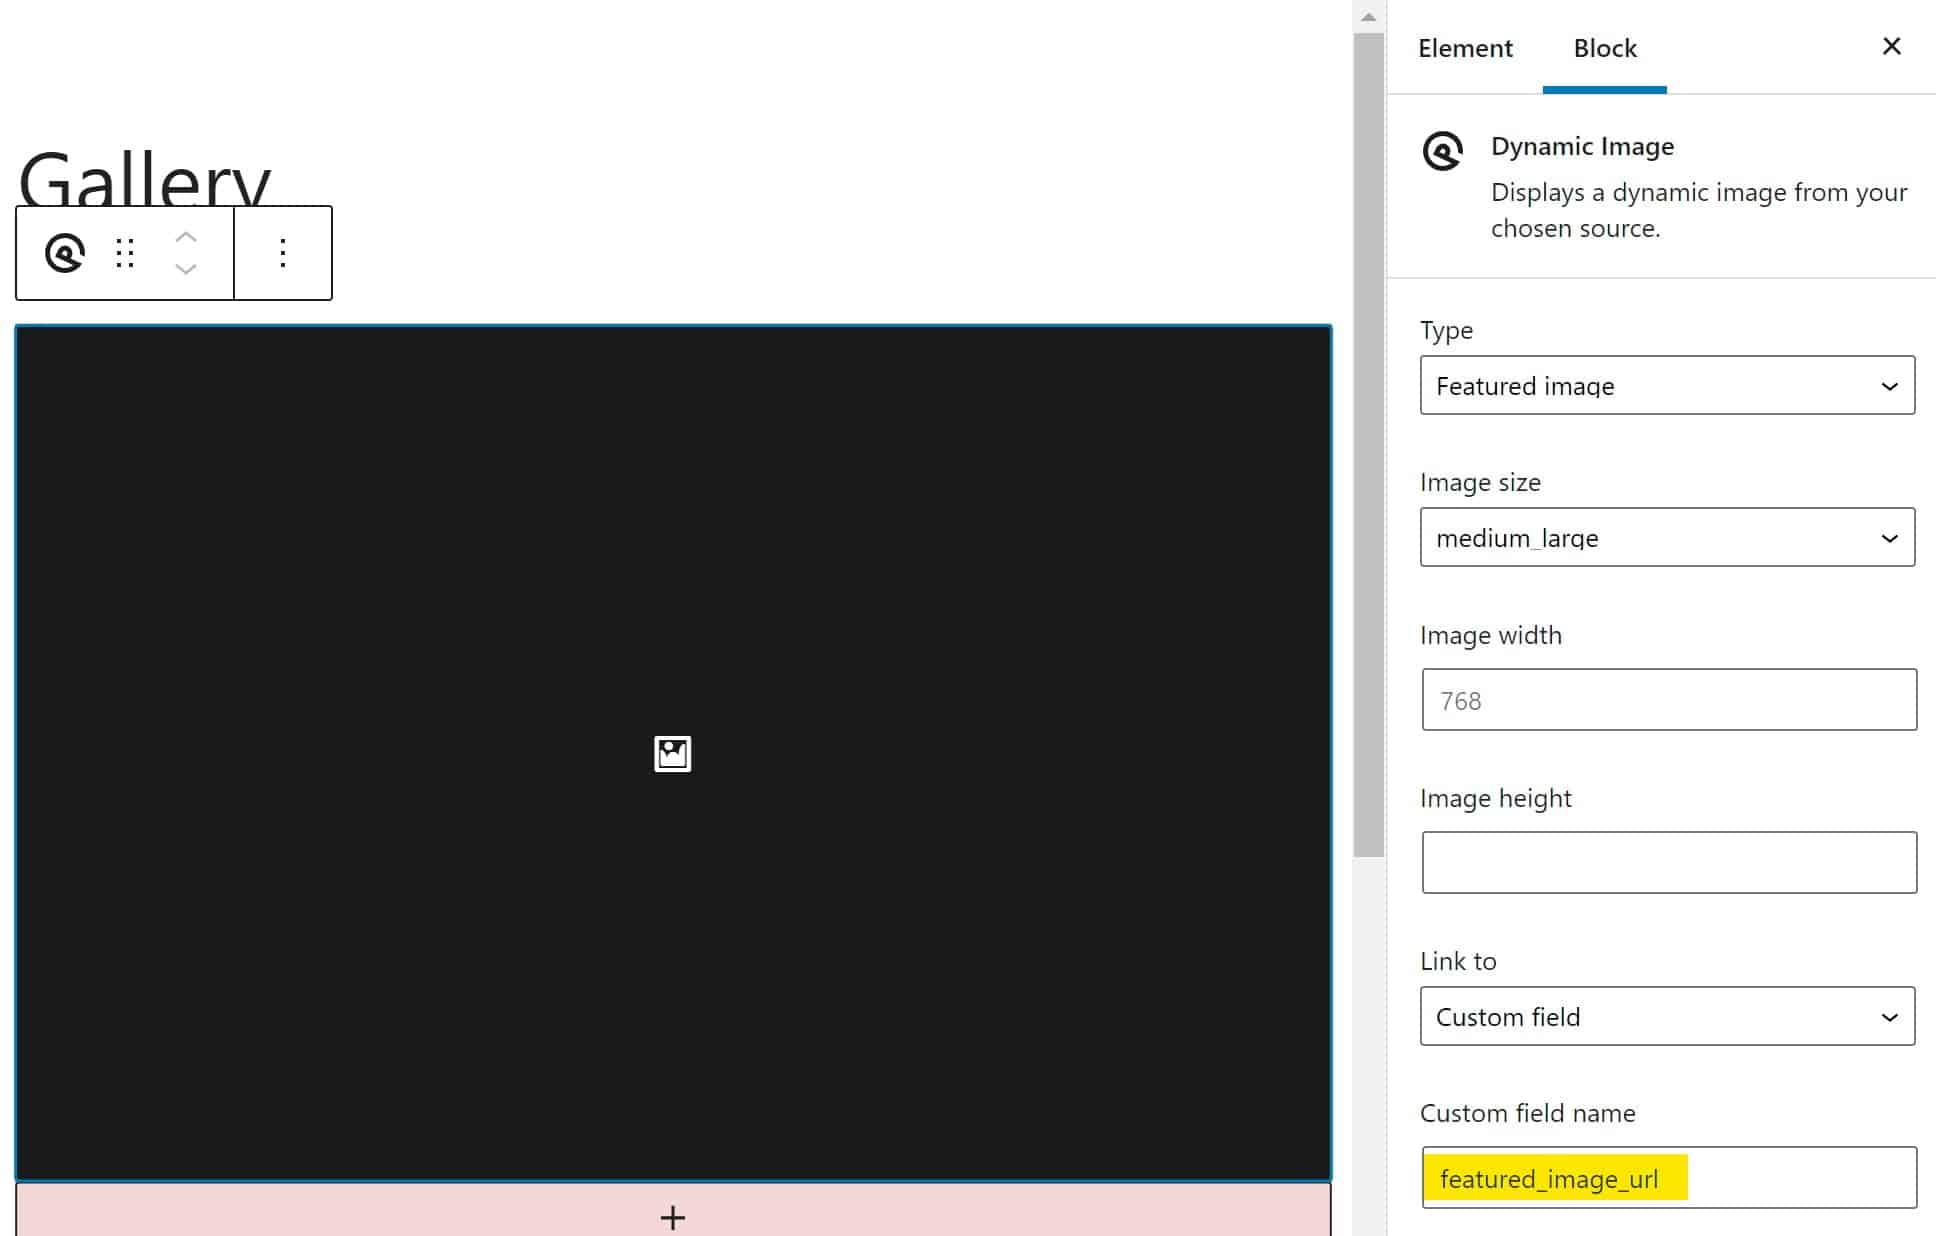
There’s two more things to do. When we click on the photo, we don’t want it to open in a blog layout, I’d much rather view it in a lightbox. Remember the “Featured image URL” from earlier? Here’s where it will be used. Select the dynamic image block, and link it to the custom field name featured_image_url.
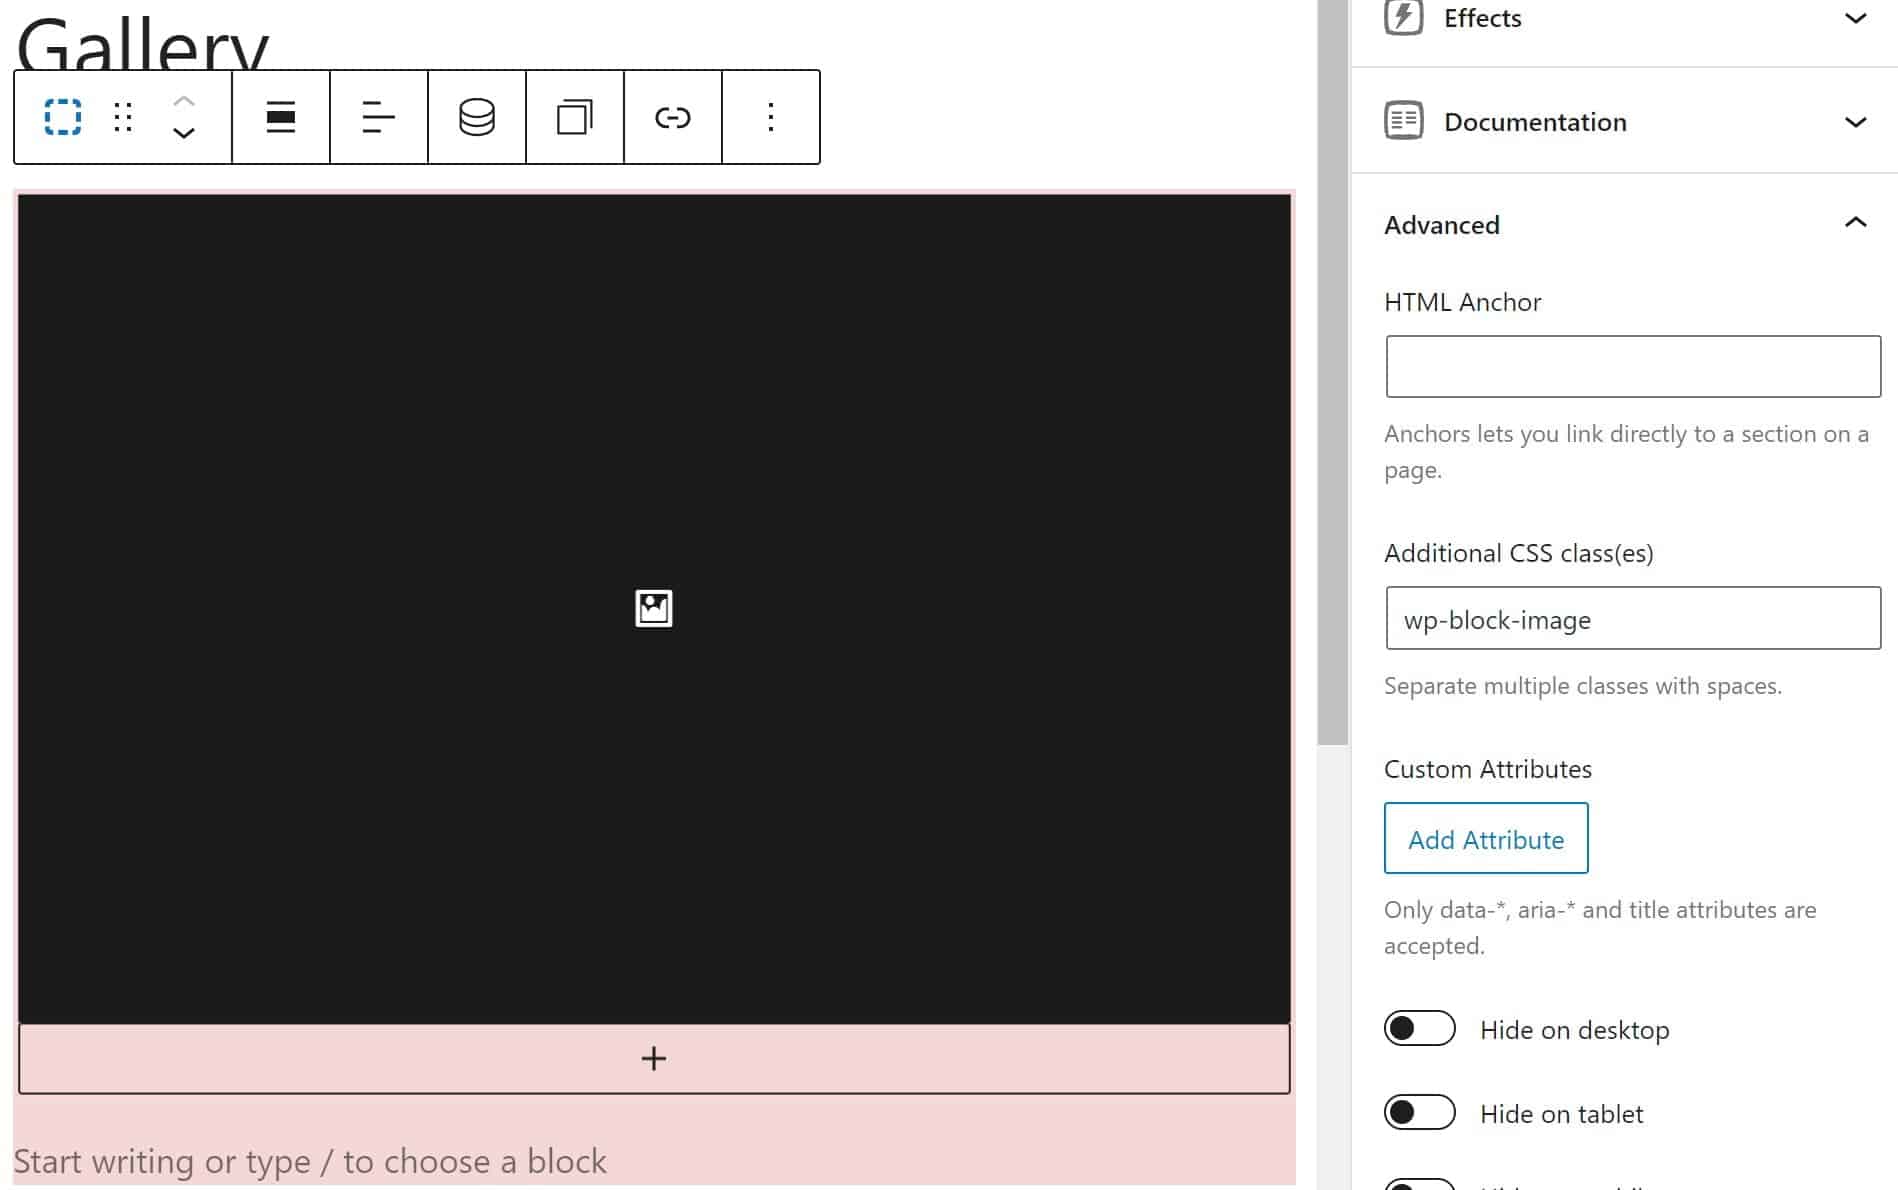
The second adjustment will let our lightbox plugin, which we haven’t installed yet, know that it should be used. To do so, select the container in which the dynamic image block itself is placed. In the advanced options, assign it the CSS class wp-block-image. You can now update or publish the block if you haven’t done so yet.
The next steps
Our photography gallery now has taken on some semblance of an actual, usable online portfolio. The setup isn’t complete yet though, and there is much work still to be done. The next step will be installing and configuring a lightbox plugin, so that our images aren’t opened as posts, but overlaid on the gallery.