This GeneratePress guide, will deliver a detailed explanation on how to style a bare-bones gallery using GenerateBlocks inside a Block Element. If you are curious about how this gallery was first created, you must read the previous guide on doing just that. The goal of this guide will not be to provide a template that can easily be copied and applied to other sites. Instead, you will be shown how it is done and provide you with the knowledge you need to create your own style.
This guide requires that you have both GeneratePress and a legal copy of GeneratePress Premium installed. Additionally, I highly recommend you purchase GenerateBlocks Pro too, as it opens up many more opportunities for customization.
Preparing GeneratePress in the Customizer
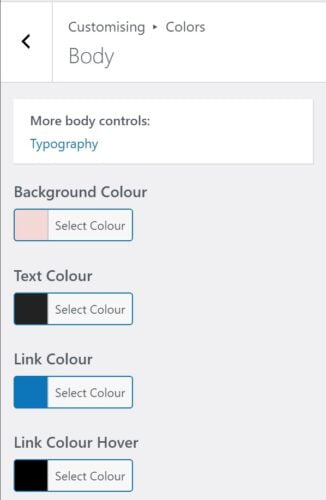
Before going any further, you must have a colour palette for your GeneratePress-powered website ready. As this guide is all about design, you will want to know what the gallery looks like against the final background colour.
On a personal note, I have used Adobe Color to generate colour palettes for all my websites and I can highly recommend it. When choosing your colours, it is advisable to make sure that they are colour-blind save and have a high enough contrast, if you are going to use them as a background for text.
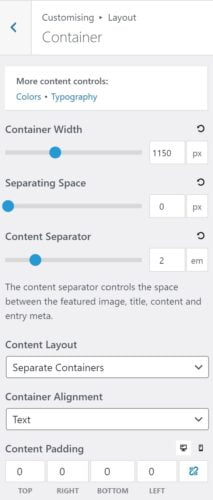
While in the Customizer, you might also want to remove all the content padding. This will allow you to later set the paddings using GenerateBlocks in a GeneratePress Block Element, giving you more control over the look and feel of the photography gallery. In the same menu, you can also adjust the container’s width, if you wish to do so. In this case, the container is where all your content will be placed. What you are doing here is essentially making the website wider or narrower.
The sidebar layout is another option you might want to adjust in the Customizer. My advice is to remove it from pages and the blog page (the first to options) and keep it for single posts only. In my opinion, the content, i.e. the photography galleries, should span the whole width of a page and a sidebar would be rather distracting. I will leave the sidebar enabled on single posts. However, the creation of a sidebar will not be covered in this guide.

Displaying the galleries in a masonry grid
There is one more thing I want to do in the Customizer, and that is to have the photos in my galleries displayed in a masonry grid. Unfortunately, it appears that GeneratePress, for whatever reason, isn’t capable of displaying these galleries, which are using a custom post type, in columns.
But as with so many things when it comes to working with GeneratePress, there is a way around that, and it’s not just some hack that will break with the next update. The workaround comes in the shape of a code snippet. If you have been following my guides, you should already have the Code Snippets plugin installed. With that in place, we can add the required code:
add_filter( 'generate_blog_masonry','generate_adjust_masonry' );
function generate_adjust_masonry( $masonry )
{
if ( is_post_type_archive() || is_tax() ) :
return 'false';
endif;
return $masonry;
}
add_filter( 'generate_blog_columns','generate_adjust_columns' );
function generate_adjust_columns( $columns )
{
if ( is_post_type_archive() || is_tax() ) :
return true;
endif;
return $columns;
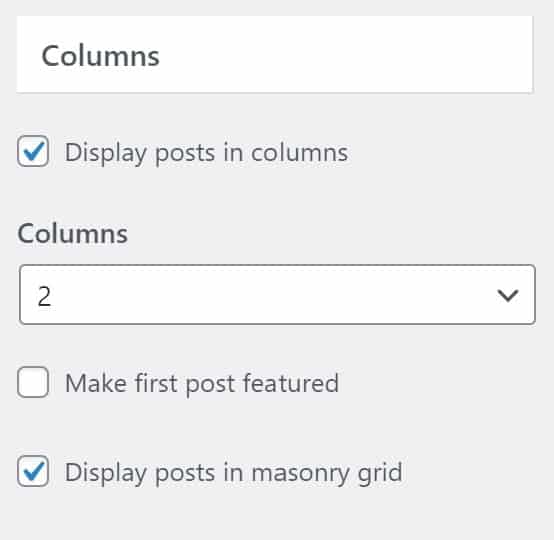
}We can now open the Customizer again and set our photos to be displayed in a masonry grid. These settings are found under Cusomising > Layout > Grid.
Basic adjustments in the GeneratePress Customizer
With that out of the way, we can move on to more pressing matters: Styling the, as of yet, bare-bones galleries. This GeneratePress guide will walk you through a number of possibilities, so you have the chance to use the full power of GenerateBlocks. However, there are a few basic adjustments I want to make on my site, before getting started with a GeneratePress Blocks Element and GenerateBlocks.
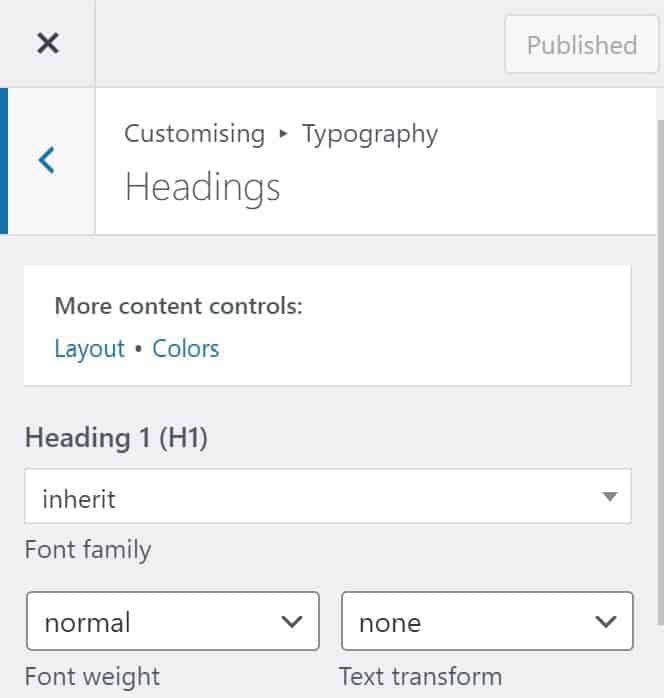
The first thing I want to do is adjust my typography because a quick glance at the gallery tells me that the Heading 2 is far too large and bold. Instead of editing the Block Element, I will be using the GeneratePress Customizer for this job, that way all headings on my site will be adjusted. I recommend you use the Customizer to make adjustments to the typography. That way all headings will be changed.
With the Customizer open again, you could also change your font. I would, however, suggest sticking to a system font, as those will be the fastest fonts. If you were to go with a Google Font, that font would have to be downloaded by each visitor’s browser. In that case, I suggest adding the Google Font locally. Whatever you do, I implore you to keep the number of fonts you use down to the bare minimum. Do not set individual fonts for every heading, as that would massively slow down your site, while looking disjointed.