Even if you’re just an amateur and have only just started an online portfolio it’s always a good idea to have a contact form on your website. My favourite contact form plugin for WordPress is currently Ninja Forms. While it is a freemium plugin, I can get everything using just the free version and don’t see the need to upgrade anytime soon.
If someone out there in the big wide world finds your website likes your style or wants to work with you, the easiest way for that person to get in touch with you is by using a contact form. After all, not everyone uses Twitter or Instagram and you shouldn’t ever publish an email address on your website. For that reason, I’ll be showing you how you can build and integrate a contact form using Ninja Forms.
Ninja Forms vs. Contact Form 7
I used to be a big proponent of Contact Form 7, one of the oldest and still most-used contact form plugins for WordPress. Until now, I still like some of its aspects. There’s no form builder involved and everything is done using simple code. This makes styling your form a breeze and there are practically no limits to the customization.
But Contact Form 7 does have one big downside and it is related to its age: It is slow. And it’s not just the contact form that is slow. Contact Form 7 has a tendency to slow down your whole website. There are ways of optimizing it but to be honest, that seemed too much of a hassle to me.
Why I switched to Ninja Forms
After realizing that Contact Form 7 wasn’t for me, I set out to find a new contact form WordPress plugin. I want all of my websites to be as fast as possible, that’s why I use GeneratePress in the first place. The contact form I finally settled on was Ninja Forms. Here’s why:
- It’s free. At least for how I use it. I didn’t want to pay for yet another plugin, especially one as simple as a contact form.
- It stores submissions. If your personal spam filter were to block a message you could still view it in the backend.
- It’s lightweight. My page-speed increased quite a bit when switching from Contact Form 7 to Ninja Forms.
- It allows for basic styling. While Ninja Forms does sell a premium option that allows for more customization, the free version offers enough options for me.
- It supports reCAPTCHA. As soon as your website gains any kind of traction, it will attract bots and spammers. This integration takes care of them.
Installing Ninja Forms on WordPress
With that out of the way let’s take a look at how to set up Ninja Forms on a WordPress website. As with any other plugin, you simply have to search for it in the WordPress backend, install it, and activate it.
An option named Ninja Forms should then appear in your WordPress menu. Click on the option to get started.

Setting up Ninja Forms
Next we’re going to take a look at the Ninja Forms settings. You will want to set up reCAPTCHA for your forms. I suggest you do this now and not before it’s too late. Simply click on the link and follow the instructions on the Google page it takes you too.
Be aware that you want to set up reCAPTCHA version 2 and not version 3, as Ninja Forms doesn’t yet support version 3 (though it is being worked on). Once done, simply copy and paste your site key and secret key into the appropriate fields in the Ninja Forms settings.

Then you’ll want to scroll down a bit and select none from the dropdown labelled opinionated styles. This will tell the form to use the style of your existing theme and not its own style. All that’s left to do is to save the settings.
Creating a Ninja Forms contact form
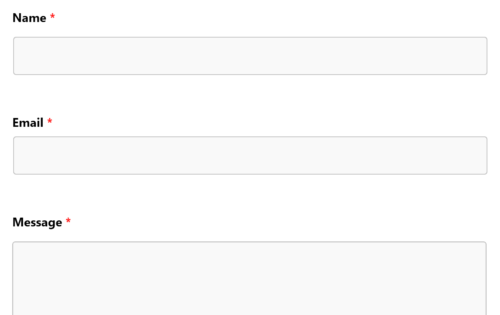
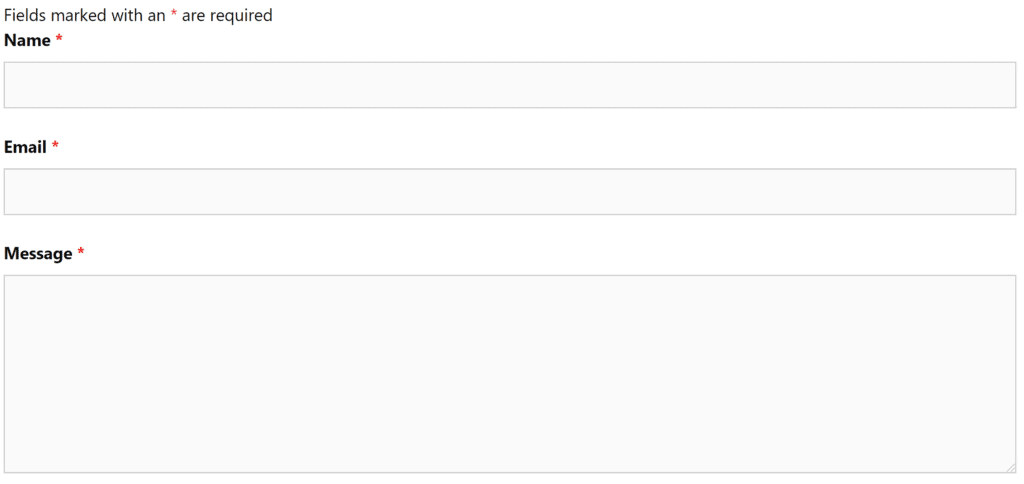
Now we get to create our actual contact form. Go to the Ninja Forms dashboard and you’ll see they’ve already provided us with a basic contact form. Perfect! We can build on that. Open up the contact form by clicking on its name.

There’s one setting I like to disable under the advanced settings. And that is the option to display the form title. My reasoning is that I want to style my contact page using the WordPress page editor and that includes the contact form title.

With that out of the way we can publish our contact form and copy the shortcode from the dashboard. Paste that shortcode into your contact page using a shortcode block, hit update and take a look at your brand spanking new contact page.
Alternatively, and perhaps easier than using the shortcode, you can also embed your contact form using the ninja form block. This has the added advantage that you can see what your contact form looks like in the page editor.

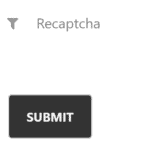
There is one thing missing from my form though and that is the reCAPTCHA field. To add that I’m simply going to head back into my contact form, click on the plus in the bottom right-hand corner and drag a reCAPTCHA button above the submit button.
You can now publish your contact form and head back to your contact page. And there is our reCAPTCHA field.
If you set up WordPress using your personal email address but don’t want messages from this contact form to go into that inbox, you can simply head back into the settings and change the email address under Email notification. Which is found under the tab Emails & Actions. After changing the settings don’t forget to hit publish again.


